Skip to content
A kegerator is one of the best ways to enjoy fresh draft beer. But to keep it running smoothly, you need to handle the CO₂ tank correctly. Many people make mistakes with their CO₂ setup, leading to wasted gas, foamy beer, or even equipment damage. I have learned a lot from my own experiences, and I want to help you avoid these common problems.
Table of Contents
Incorrect CO2 Tank Connection
One of the biggest mistakes people make is not attaching the CO₂ tank properly. If the regulator is not connected correctly, gas will leak, and your beer will not pour as expected. I remember the first time I set up my kegerator. I thought I had tightened everything, but a slow leak emptied my CO₂ tank overnight.
To avoid this, always check that the CO₂ regulator is securely attached to the tank. Use a wrench to tighten the nut, but do not overtighten it. If you hear a hissing sound after opening the valve, that means gas is escaping. You can apply soapy water to the connections—if you see bubbles forming, there is a leak that needs to be fixed.
Another issue is forgetting to use a washer between the tank and the regulator. Some regulators require one to create a proper seal. Without it, you may get a slow gas leak that drains the tank over time. Always check the manufacturer’s instructions for your specific setup.
Setting the Wrong CO2 Pressure
Setting the correct pressure is essential for a good pour. If the pressure is too low, the beer will be flat. If it is too high, you will get a glass full of foam.
Most beers should be served at 10–12 PSI, but different styles require different settings. Ales and lagers usually work well at this range. However, stouts and other nitrogen-based beers need a different setup. If you are using a commercial keg, check with the distributor for the recommended PSI.
I once set my kegerator at 20 PSI, thinking it would make the beer come out faster. Instead, I ended up with a foamy mess. I had to wait hours for the carbonation to settle before I could enjoy a proper pour. The key is patience—make small adjustments and test the flow before pouring a full glass.
Ignoring CO2 Leaks
Gas leaks are one of the most frustrating problems with a kegerator. They can be small and hard to notice, but over time, they will empty your tank. If your CO₂ seems to be running out too quickly, you probably have a leak.
One of the most common places for leaks is the connection between the regulator and the CO₂ tank. Another common spot is the coupler that connects to the keg. Even tiny leaks can drain a full tank in a few days.
To check for leaks, I use a simple trick—soapy water. Mix a little dish soap with water and apply it to all connections. If bubbles appear, there is a leak. Tighten the connection or replace any damaged seals. Some people use a gas leak detector spray, but soapy water works just as well.
Another way to spot a leak is by weighing the CO₂ tank. If you suspect a slow leak, weigh the tank, wait a day, and weigh it again. A noticeable drop means you are losing gas somewhere.
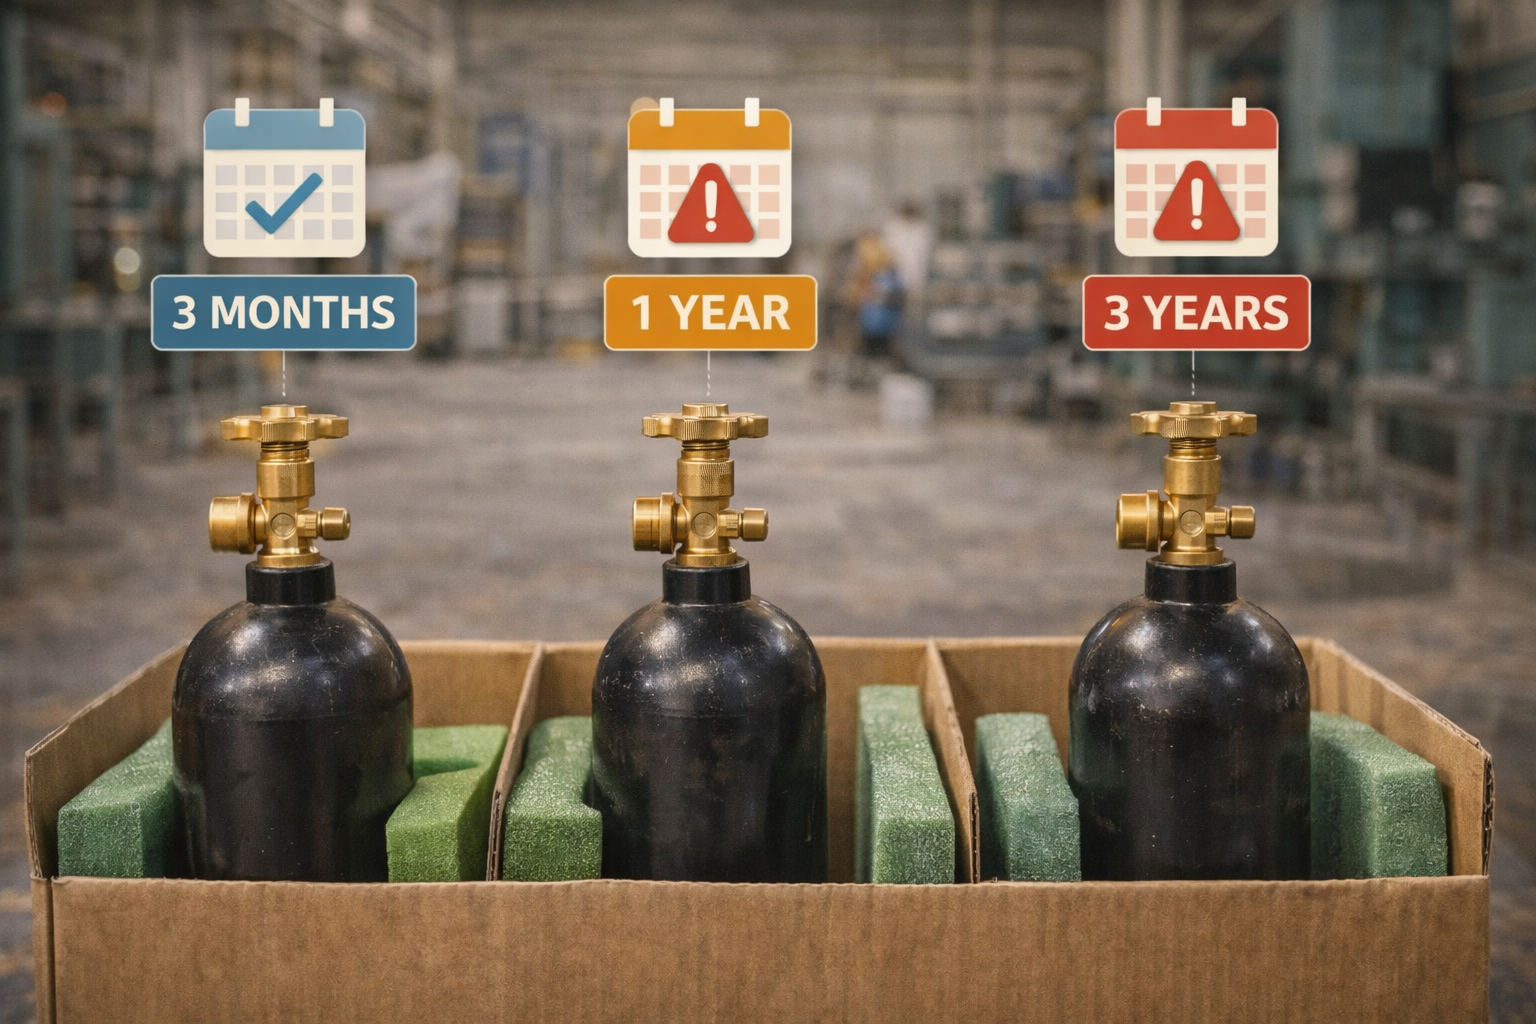
Storing the CO2 Tank Incorrectly
The way you store your CO₂ tank affects its performance. One common mistake is laying the tank on its side. CO₂ tanks contain liquid CO₂, which needs to be in an upright position. If the tank is tilted, liquid CO₂ can enter the regulator, causing damage.
I learned this the hard way when I tried to fit a larger CO₂ tank inside my kegerator. I placed it on its side to make it fit, but soon, my regulator stopped working. It turns out that liquid CO₂ had frozen some of the internal parts. After that, I made sure to always store my tank upright.
If you keep the tank inside the kegerator, make sure it is secured in place. A loose tank can tip over and damage the regulator. If you store it outside, keep it in a cool, dry place away from direct sunlight. Extreme heat can cause the pressure to rise, which might trigger the safety valve to release gas.
Over-Tightening the Regulator
It is easy to think that the tighter, the better. But over-tightening the regulator can actually damage the seals. I once cranked down on the nut as hard as I could, thinking it would prevent leaks. Instead, I crushed the rubber washer inside, creating a small gap that allowed gas to escape.
The right way to tighten the regulator is to make it snug but not too tight. Use a wrench, but stop as soon as you feel resistance. If you are unsure, check for leaks using the soapy water method.
Not Checking CO2 Levels Regularly
Running out of CO₂ in the middle of a party is a nightmare. I have been there. Everyone was enjoying their drinks, and suddenly, the beer stopped pouring. I had no backup tank, so we had to switch to bottled beer.
To avoid this, always keep an eye on the CO₂ gauge. The high-pressure gauge shows the pressure inside the tank, but it does not drop until the tank is almost empty. The best way to know how much CO₂ you have left is to weigh the tank. An empty 5-pound tank weighs about 7.5 pounds, so if your full tank weighs 12.5 pounds, you can calculate how much CO₂ is remaining.
If you entertain guests often, consider keeping a spare CO₂ tank on hand. That way, you can swap it out quickly if you run out.
Using the Wrong Beer Line Length
The length and diameter of your beer line affect the pour. If the line is too short, the beer comes out too fast and creates foam. If it is too long, the beer may pour too slowly.
Most home kegerators use 5–10 feet of 3/16-inch tubing. This provides the right amount of resistance to balance the CO₂ pressure. When I first set up my kegerator, I used a short hose, thinking it would make the beer pour faster. Instead, I got nothing but foam. Switching to a longer line solved the problem immediately.
If you are experiencing foamy pours, try using a longer beer line. You can also lower the serving pressure slightly to reduce foam.
Forgetting Regular Maintenance
A kegerator needs regular maintenance to keep it working properly. This includes checking seals, cleaning the beer lines, and making sure there are no leaks.I make it a habit to inspect my CO₂ system every time I change a keg. I check for leaks, clean the lines, and make sure the regulator is working properly. This simple routine has saved me a lot of trouble.